I am always looking for better ways to cook chicken. Let’s face it, chicken can be kind of boring. But still, I find myself making it again and again because of one reason: my kids will eat it. I bake it, I broil it, I grill it, I bread it, I stew it, I shred it (the last two are their least favorites) and I do whatever I can so they will get some protein. For some reason the little ones want familiar and plain whereas us big people want it to be different all the time.
I often dabble with cuisine from other cultures hoping to add to the appeal of trying something new and different. I don’t always stick to a recipe and more often than not, just pull flavors from a country or region and come up with something new. Then I go in for the big sell. Any connection I can come up with, such as, “Our good friends, so and so, live in that country” or “When you were in my tummy, I ate that all the time”. Whatever it takes.
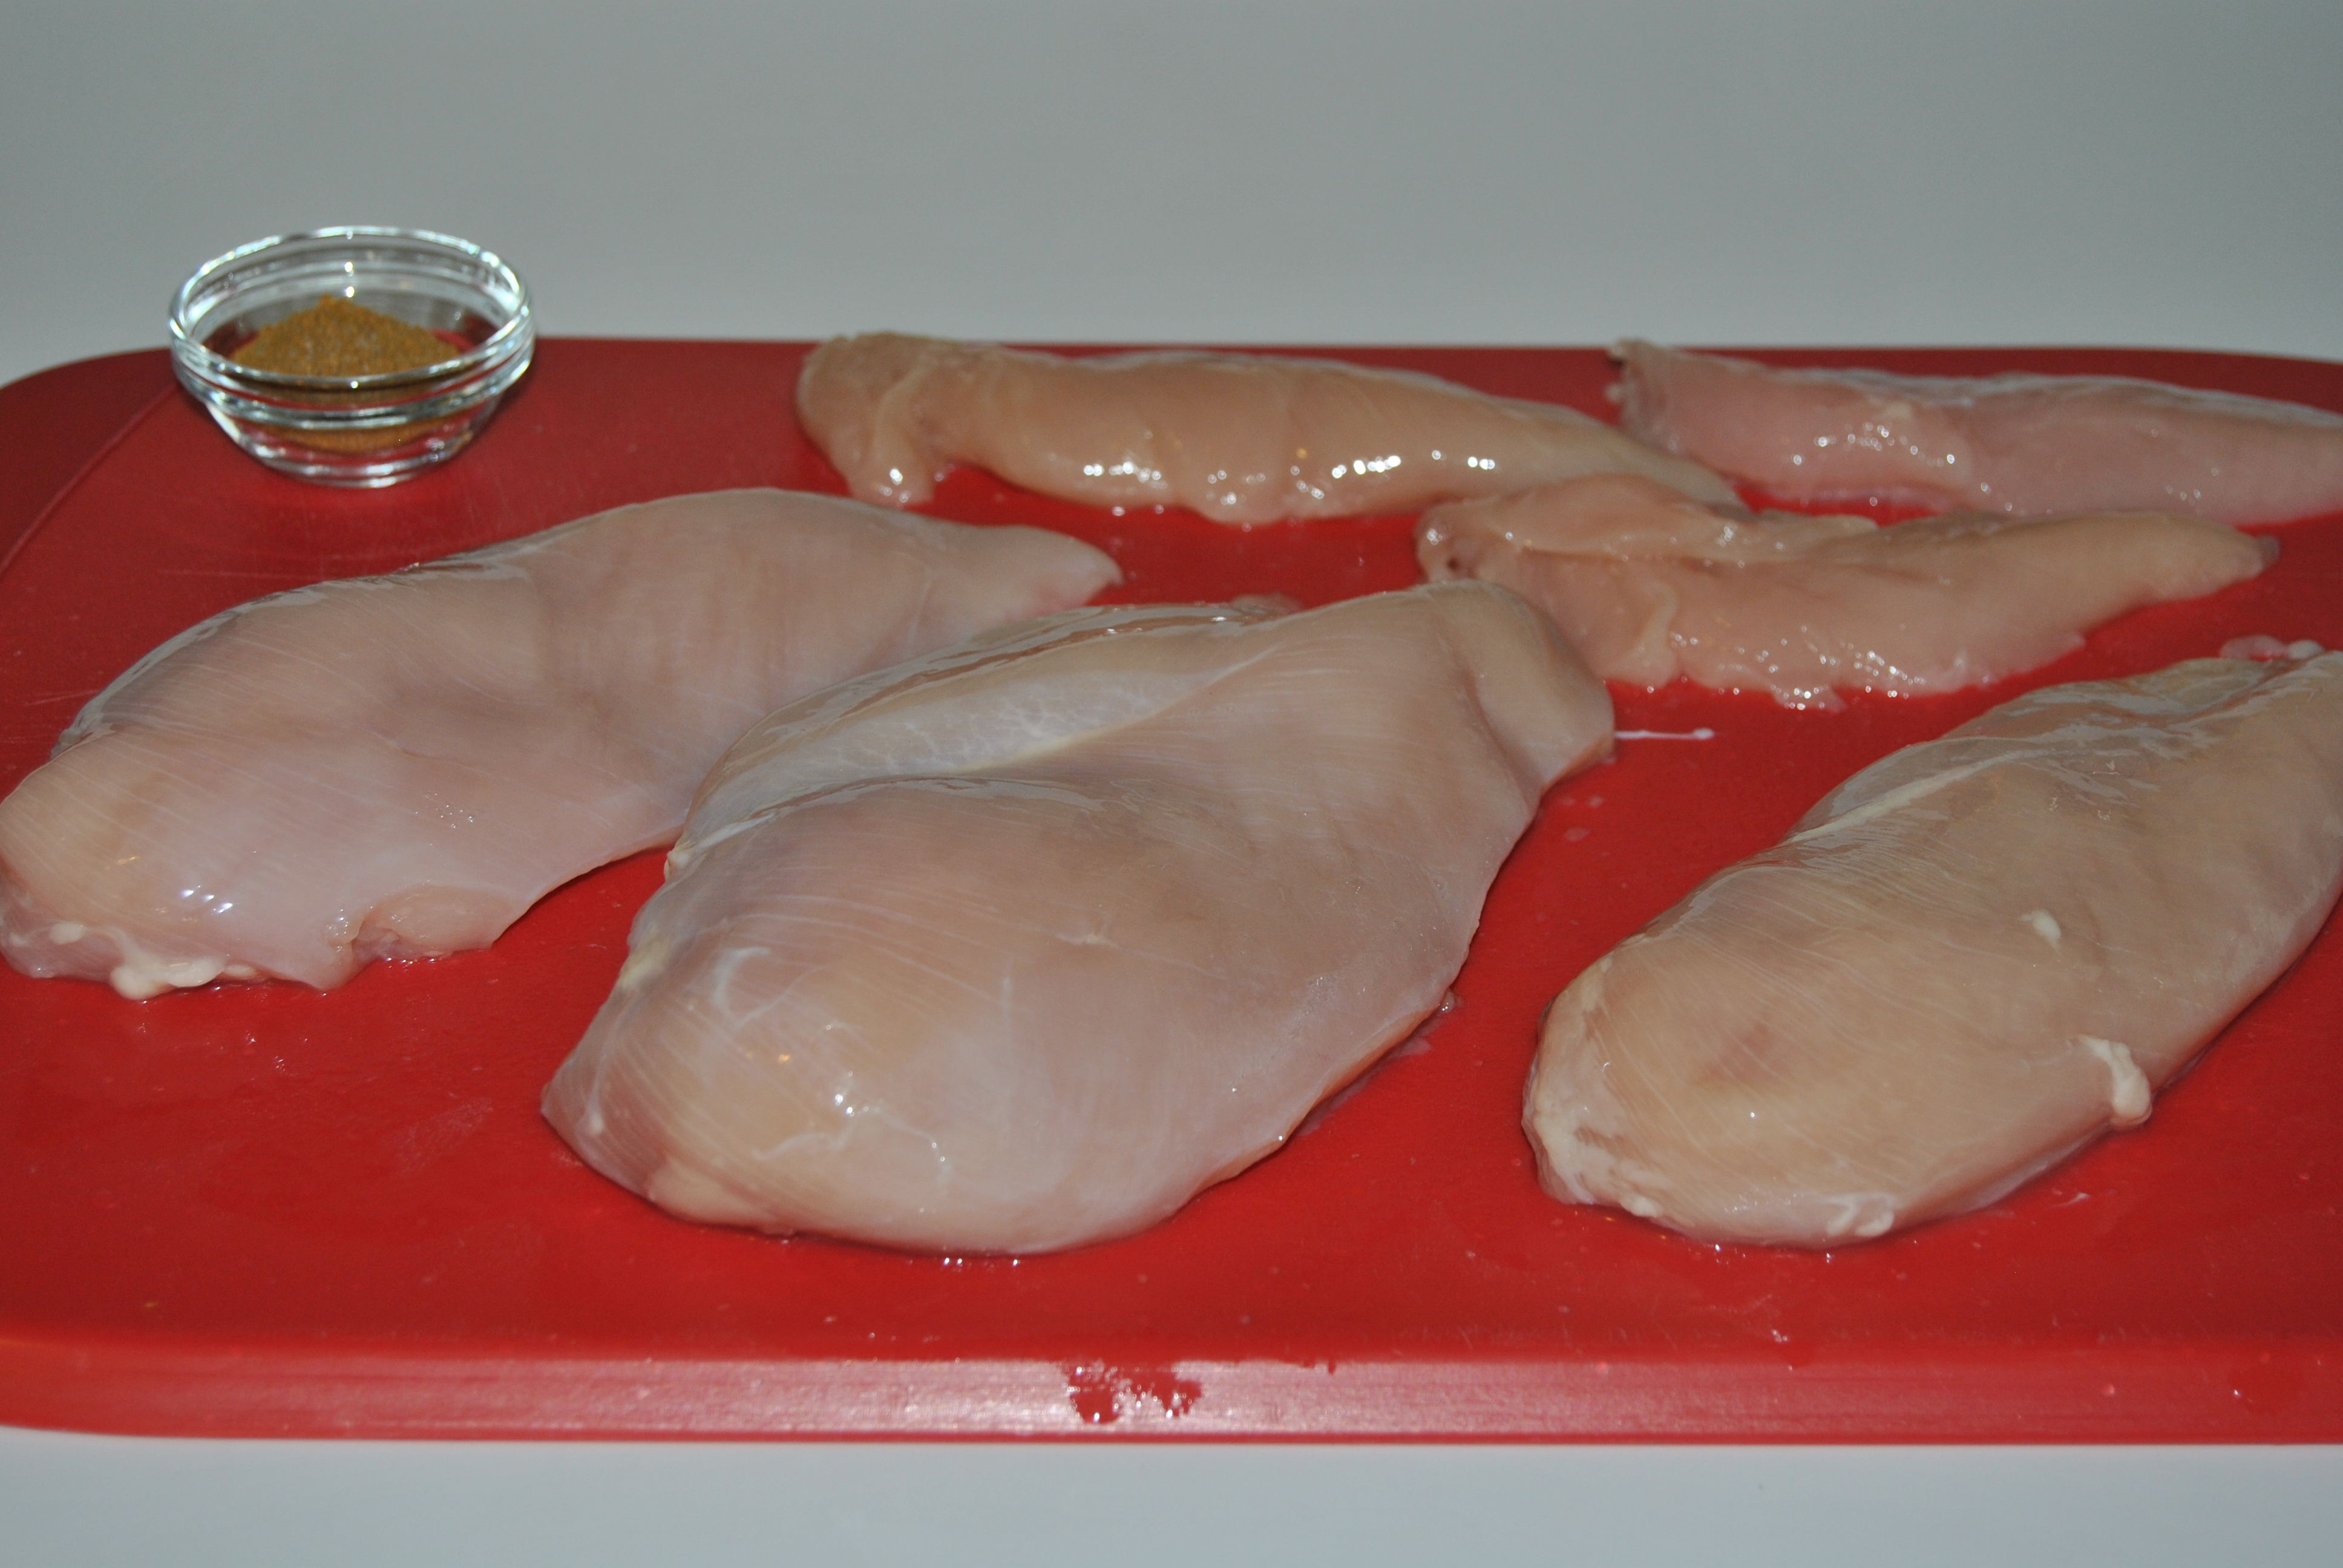
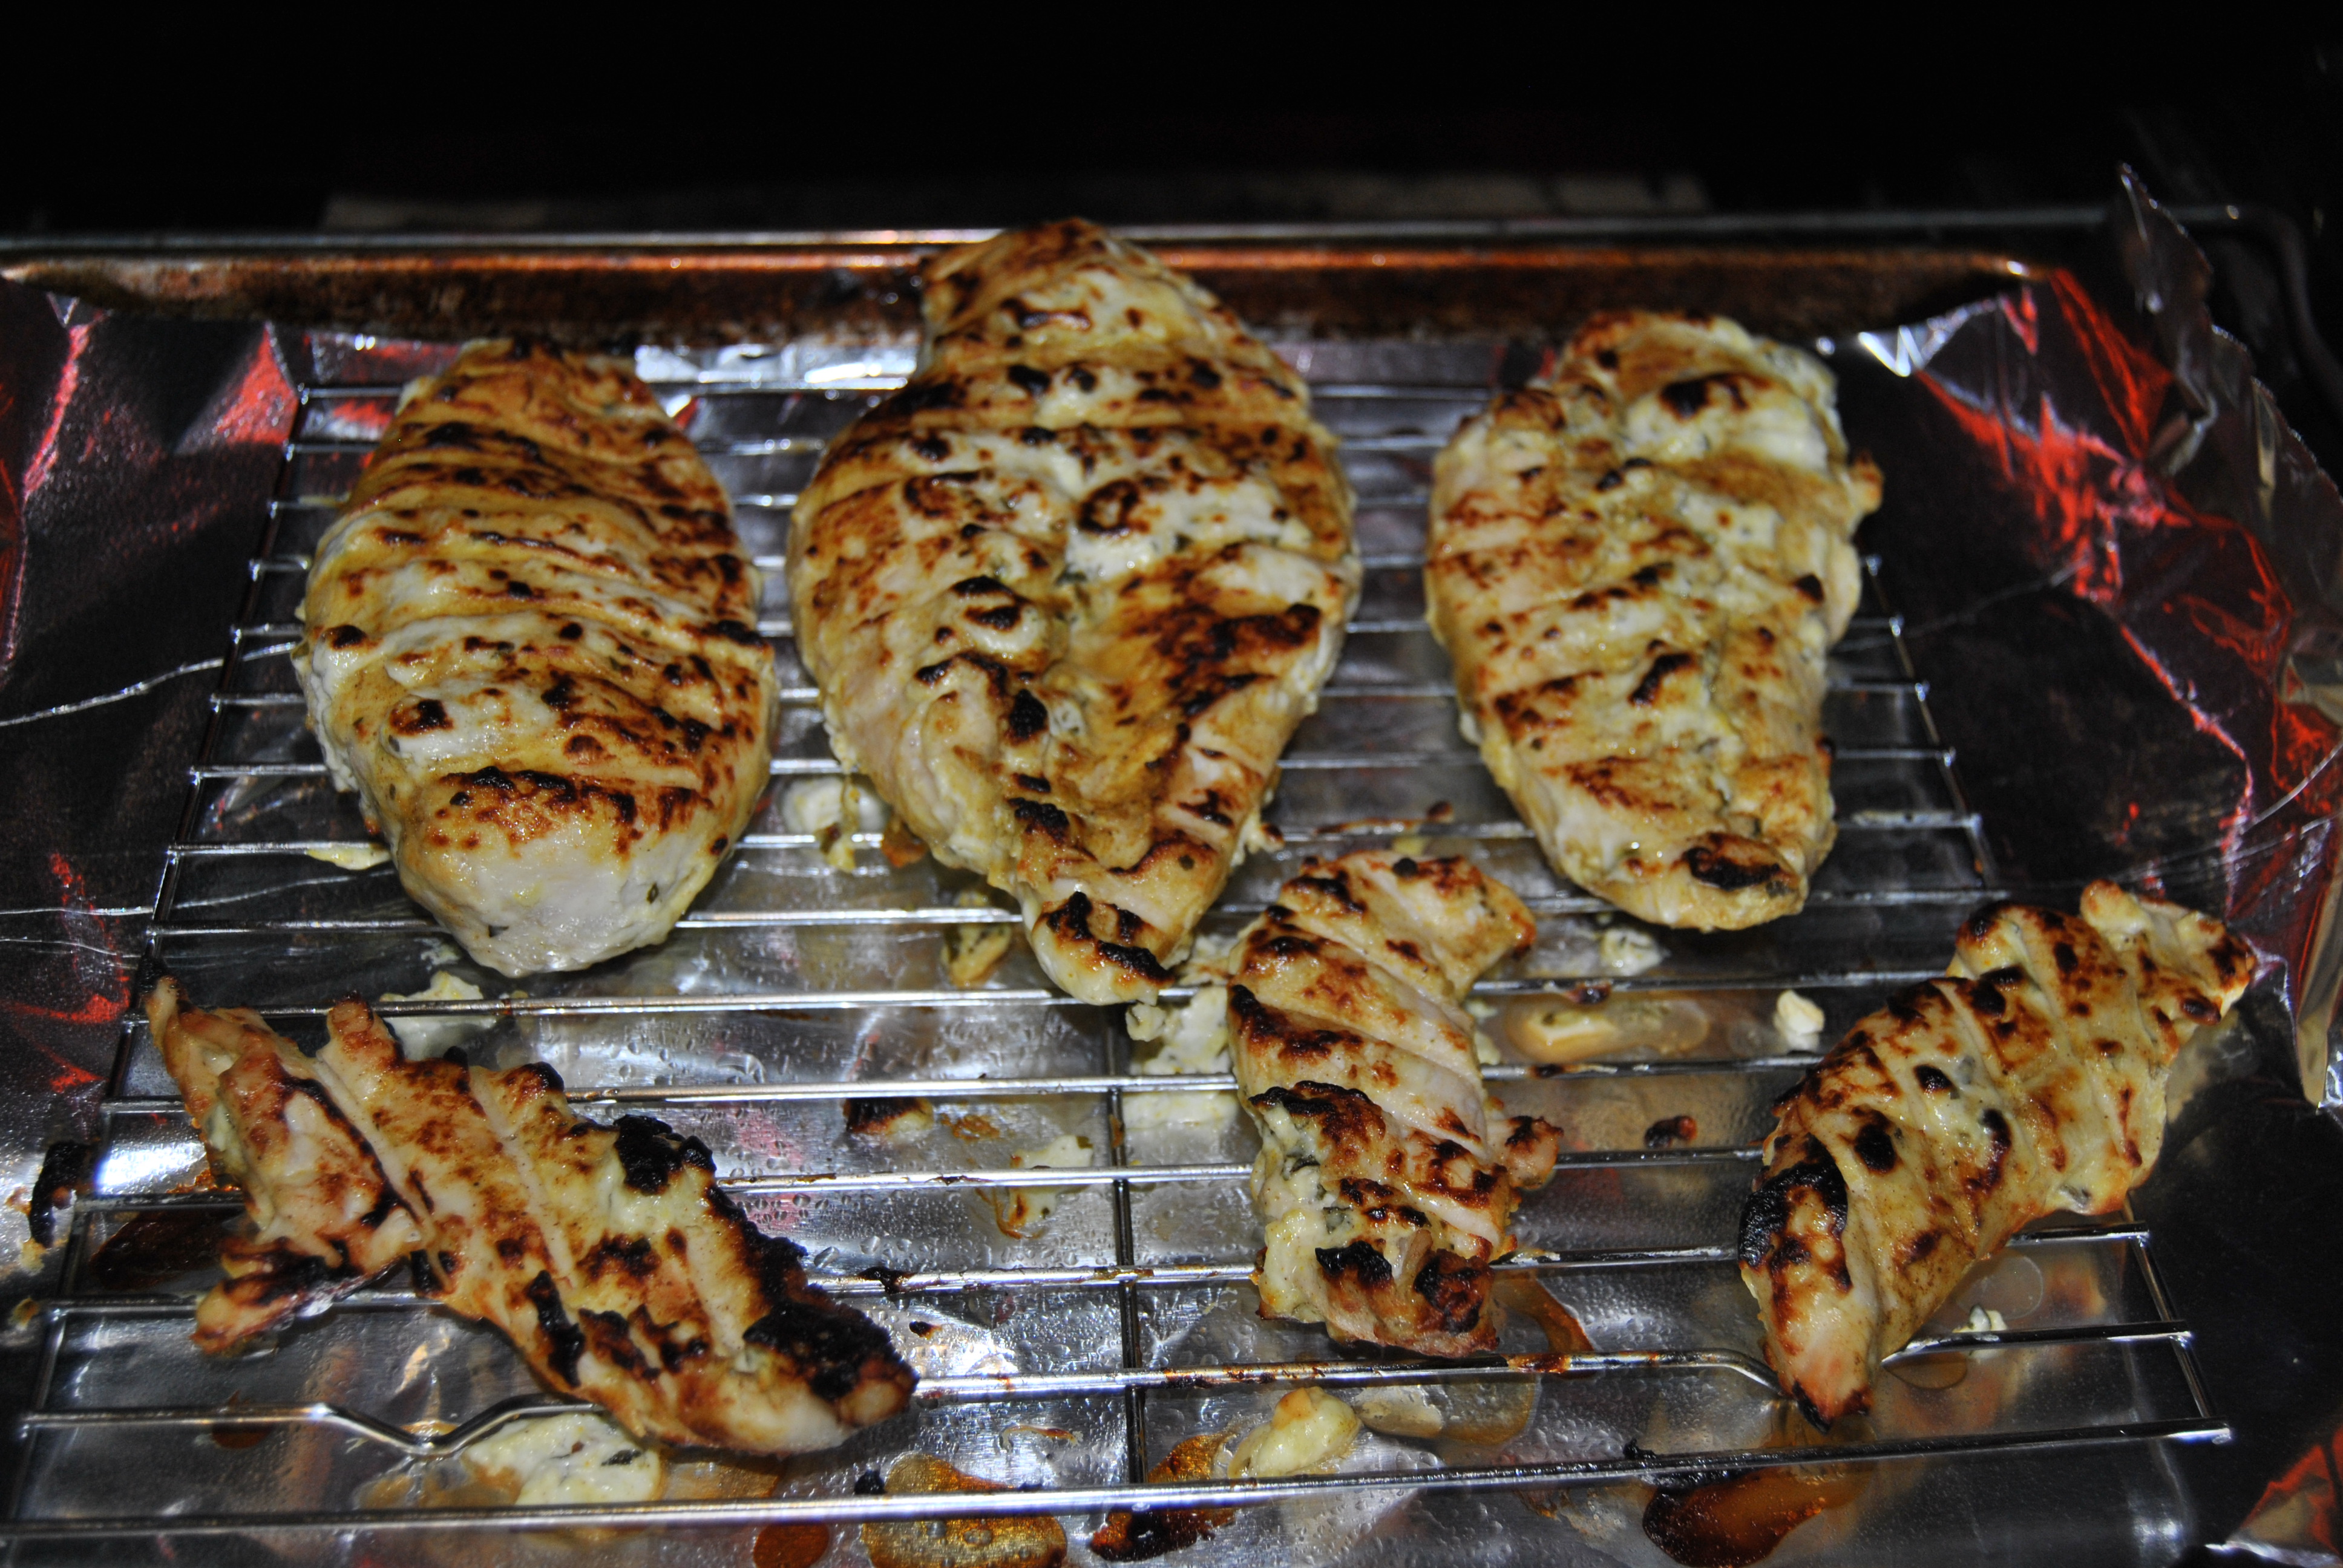
The dishes today are Greek inspired and full of classic flavors from that region: oregano, lemon, Greek yogurt, spinach, feta, artichokes. The first half of the meal, Greek Chicken, is cooked with a method I first saw in a recipe for Tikka Masala, which is a very mainstream Indian dish (at least in the states). You cover the chicken with a spice rub, dredge it generously with a yogurt mixture (in this recipe I went with Greek yogurt) and then broil the meat until it blisters and begins to blacken a bit (not burn-there’s a difference). A lot of people overcook chicken so I made this one easy for you-take its temperature and keep baking if they are not done. When I made it, I had a few tenderloins attached to the chicken breasts which are those thin little strips of meat that are barely hanging on to the side so they’re easy to pull off. The tenderloins will be done after they have blackened under the broiler and will need no further baking.
A long time ago when my husband and I were dating, we used to eat at this Greek restaurant in the Fan district of Richmond which was about as authentic as you could get. I think that is when I fell in love with Greek food. They made this Lemon-Chicken Orzo Soup which sent chills down your spine it was so good. I tried to incorporate the lemon flavor into the second half of this dish, Greek-Inspired Orzo, without causing your lips to pucker. I also tossed in some spinach (so I wouldn’t have to make a separate vegetable) and feta and chopped up artichokes (the ones that come out of the can–much easier). The orzo can be made while the chicken is cooking. I served the chicken atop the orzo but you decide how you want to plate it. Two out of three of my kids loved the chicken and one loved the orzo. In my world, that’s a victory. I have to be honest, I picked the spinach out of their pasta and gave them cut up cucumbers and yellow peppers on the side instead. That was their safety net which is pretty healthy.
As for you, I hope you give this meal a whirl so you have the chance to savor some wonderful flavors from a country which has has some pretty amazing food. Go Greek!
Greek Chicken
Serves 4-6

Ingredients:
2 lbs. boneless, skinless chicken breasts
Cooking spray
Spice Rub (see below)
Yogurt Mixture (see below)
—–
Spice Rub
½ teaspoon cumin
½ teaspoon ground coriander
¼ teaspoon cinnamon
¼ teaspoon turmeric
1 teaspoon sea salt
—–
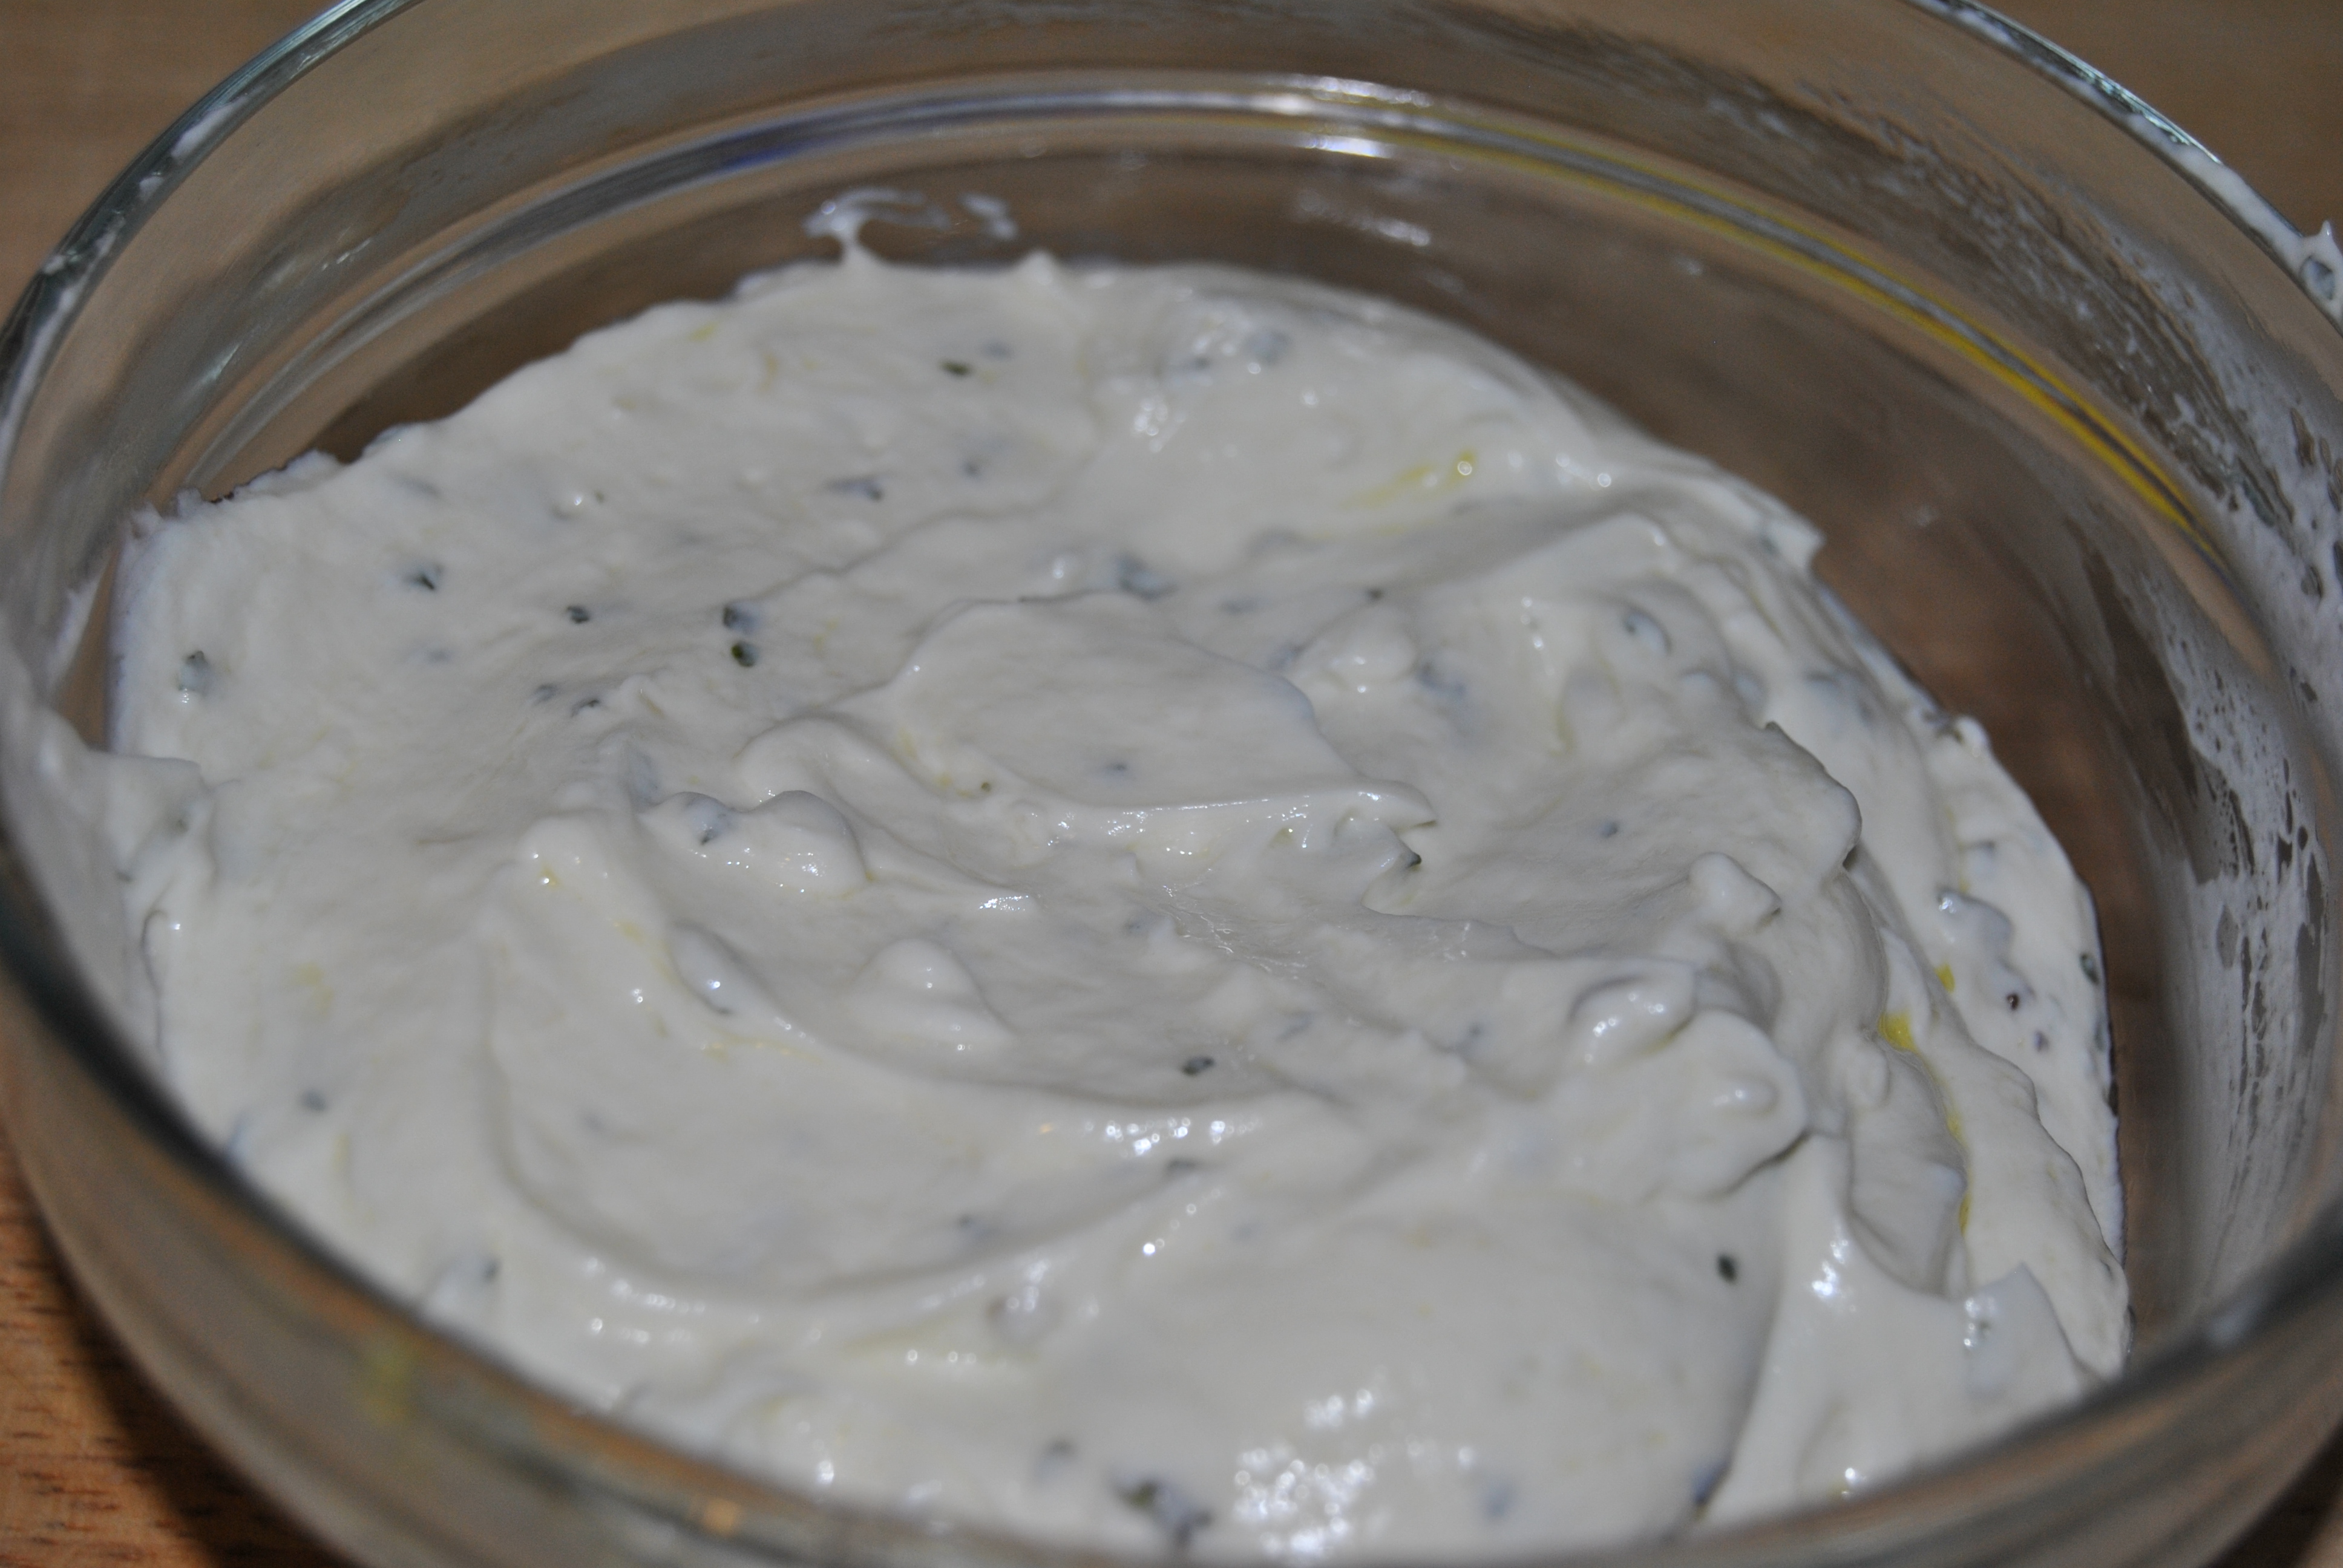
Yogurt Mixture
1 cup low-fat Greek yogurt
2 tablespoons extra-virgin olive oil
2 cloves garlic, chopped or minced
1 teaspoon dry oregano
—–
Equipment:
Cutting board
Chef’s knife
Small lidded-plastic container or zipper-top sandwich bag
Small baking dish or bowl
Small wire rack
Aluminum foil
Rimmed-cookie sheet
Tongs
Preparation:


1. Place ingredients for the rub in a small lidded-plastic container or in a zipper-top plastic bag and shake to blend. Rub into chicken breasts, place in a small baking dish or bowl and refrigerate for at least 30 minutes.


2. Remove chicken from the refrigerator and turn on the broiler of the oven with the rack in the next to highest position. Line a rimmed cookie sheet or baking dish with aluminum foil. Place a small wire rack on top of the foil and spray the rack on both sides with cooking spray. Combine ingredients for the yogurt mixture and, using tongs, grasp the chicken breasts, one by one, and dip in the yogurt mixture, applying a generous coating. Lay each one on the prepared rack. Smother half of the remaining yogurt mixture over chicken, reserving the other half.


3. Place the rack in the oven, leaving the door ajar, and cook for 15-20 minutes, flipping half way through after the first side begins to blister and blacken a little. Spread remaining yogurt mixture over the chicken once it is flipped. When the second side blisters and blackens some, stick an instant-read thermometer in the thickest part of the chicken. You want 160 degrees. If the chicken is not done, loosely cover it with aluminum foil, close the oven door and turn the oven down to 400 degrees and bake until it’s done. It shouldn’t take more than 15 minutes but times will vary depending on the size of the chicken breasts.
4. Once the chicken is done, remove it from the oven and let it rest for 10 minutes to rest. Slice into thin strips.
Greek-Inspired Orzo
Serves 4-6

Ingredients:
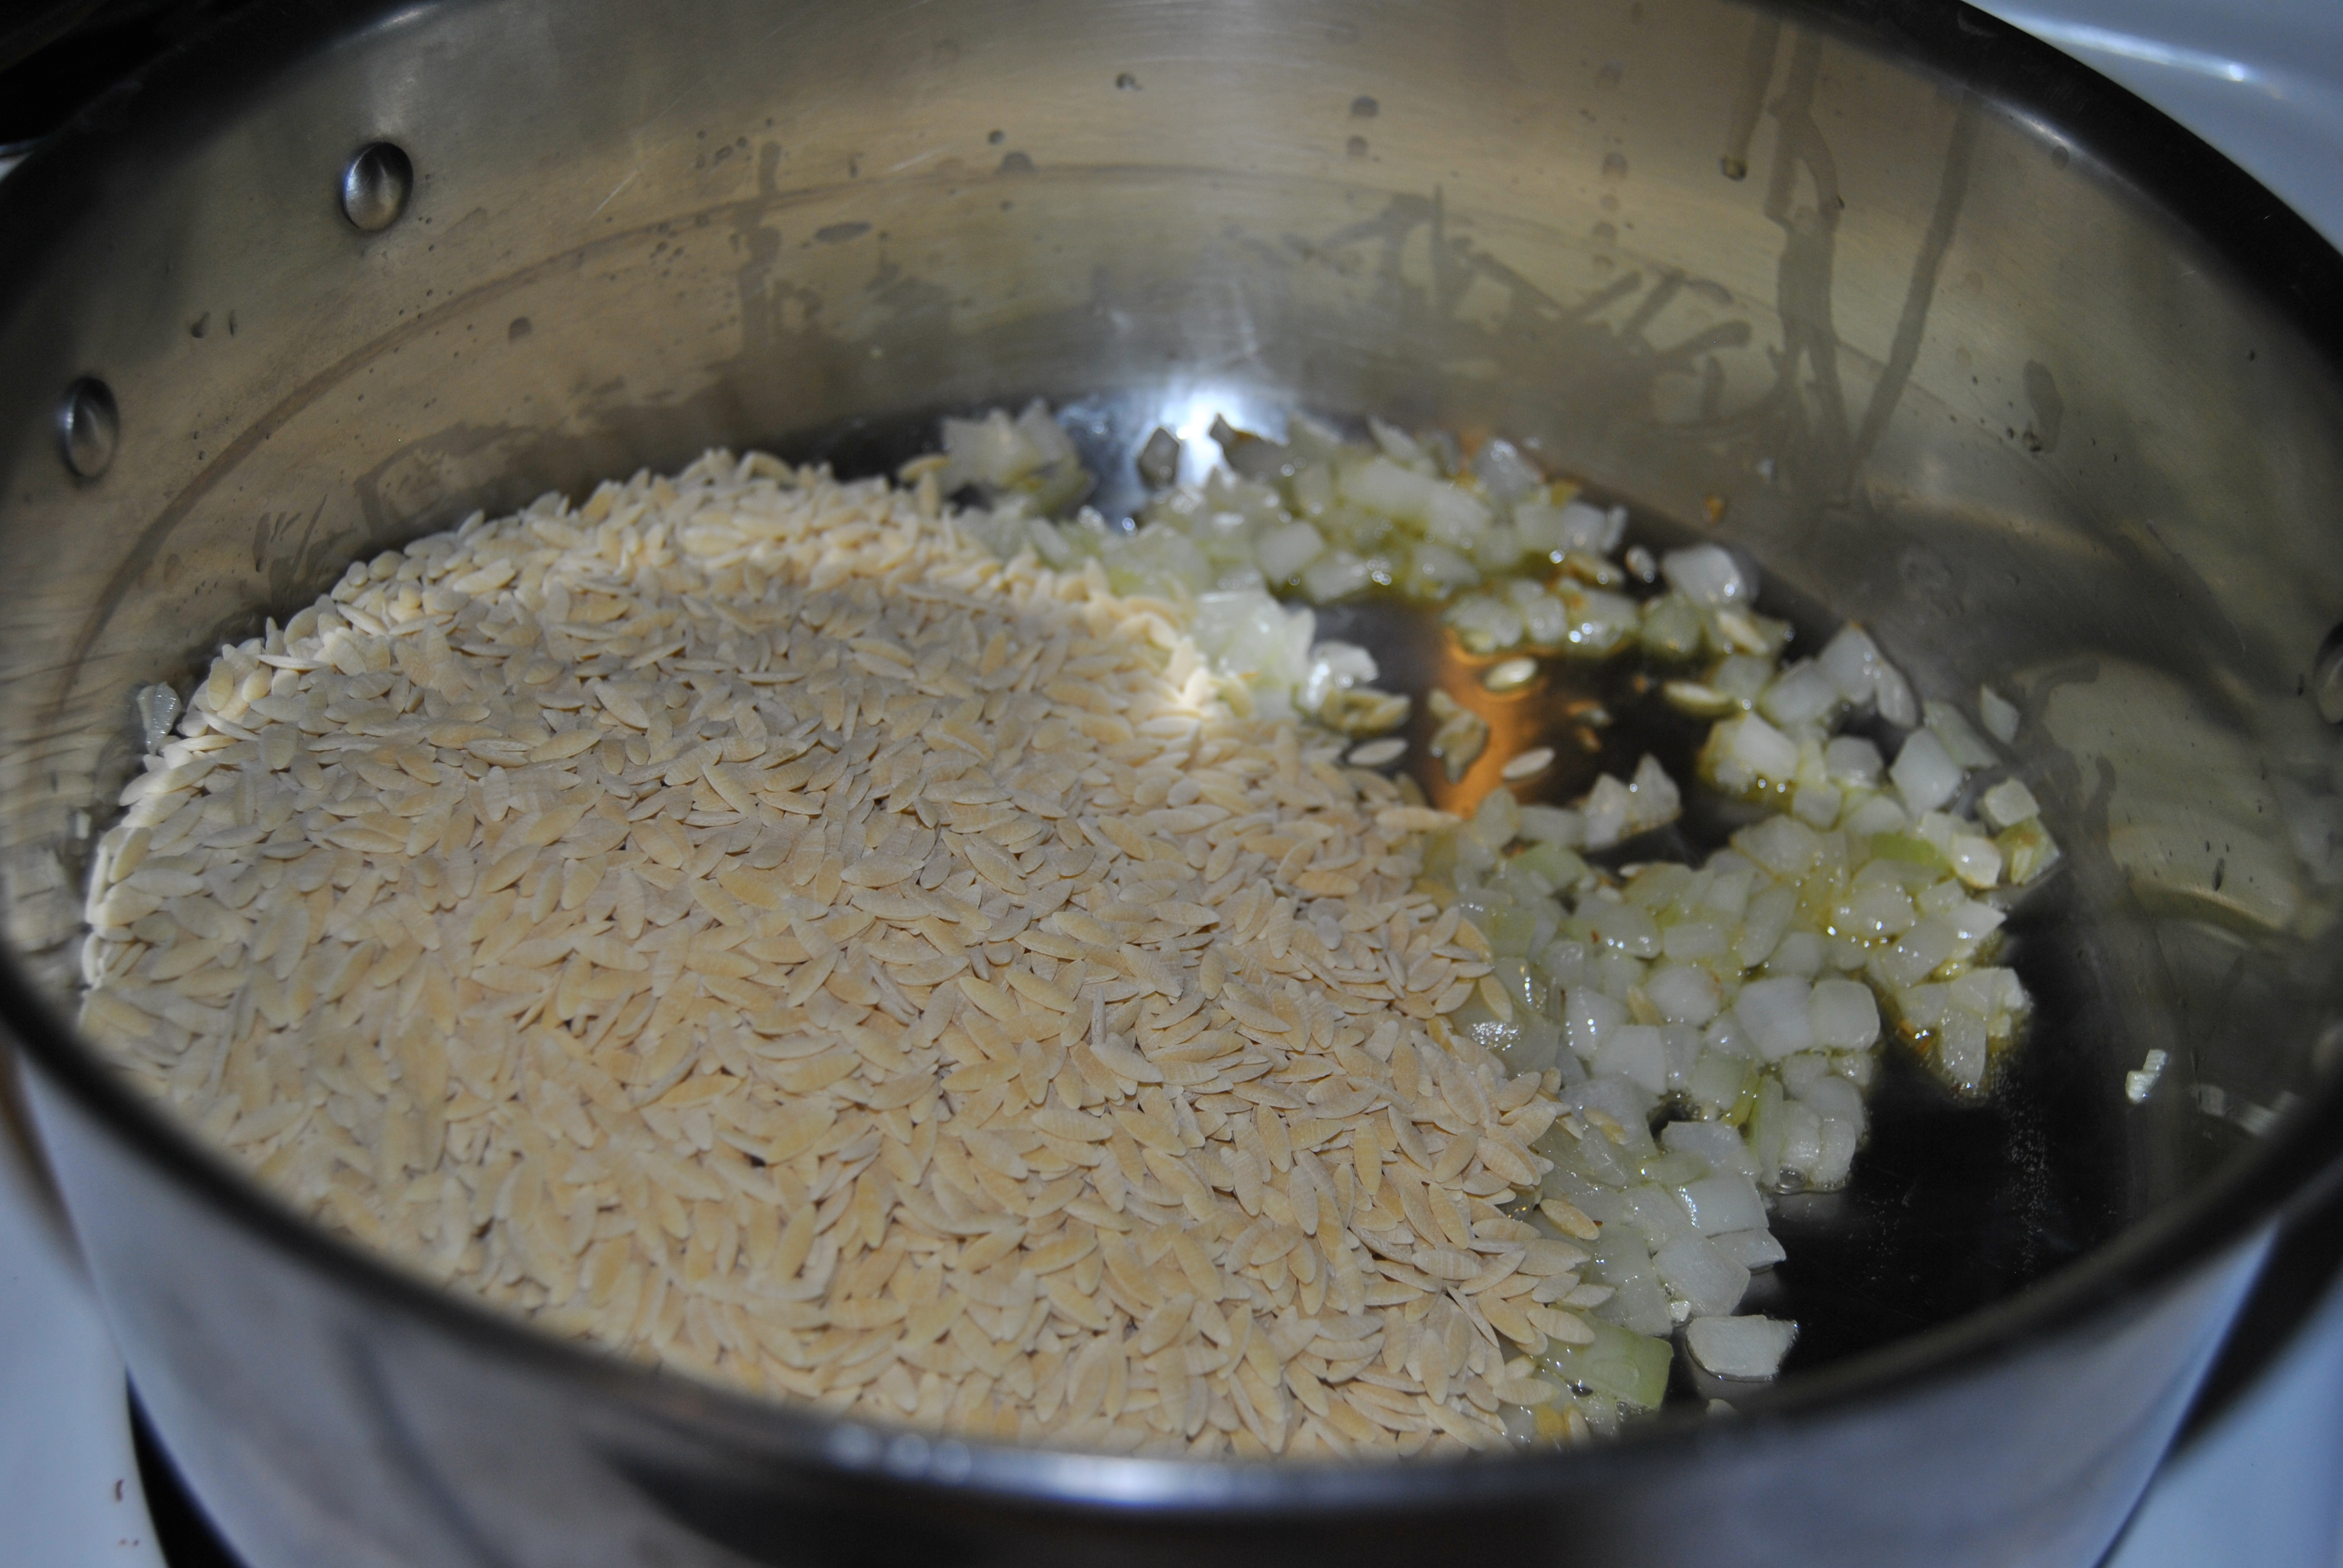
2 tablespoons extra-virgin olive oil
1 cup chopped yellow onion
1 clove garlic, chopped
1 pound orzo
1 quart low-sodium chicken stock
1 cup water
½ cup chopped canned artichokes (plain)
2 large handfuls of spinach (around 6 ounces)
1 cup crumbled feta cheese
2 tablespoons fresh lemon juice
½ teaspoon freshly ground black pepper
¼ teaspoon fine sea salt
—–
Equipment:
Cutting board
Chef’s knife
Large, heavy-bottom pot
Wooden spoon
Preparation:


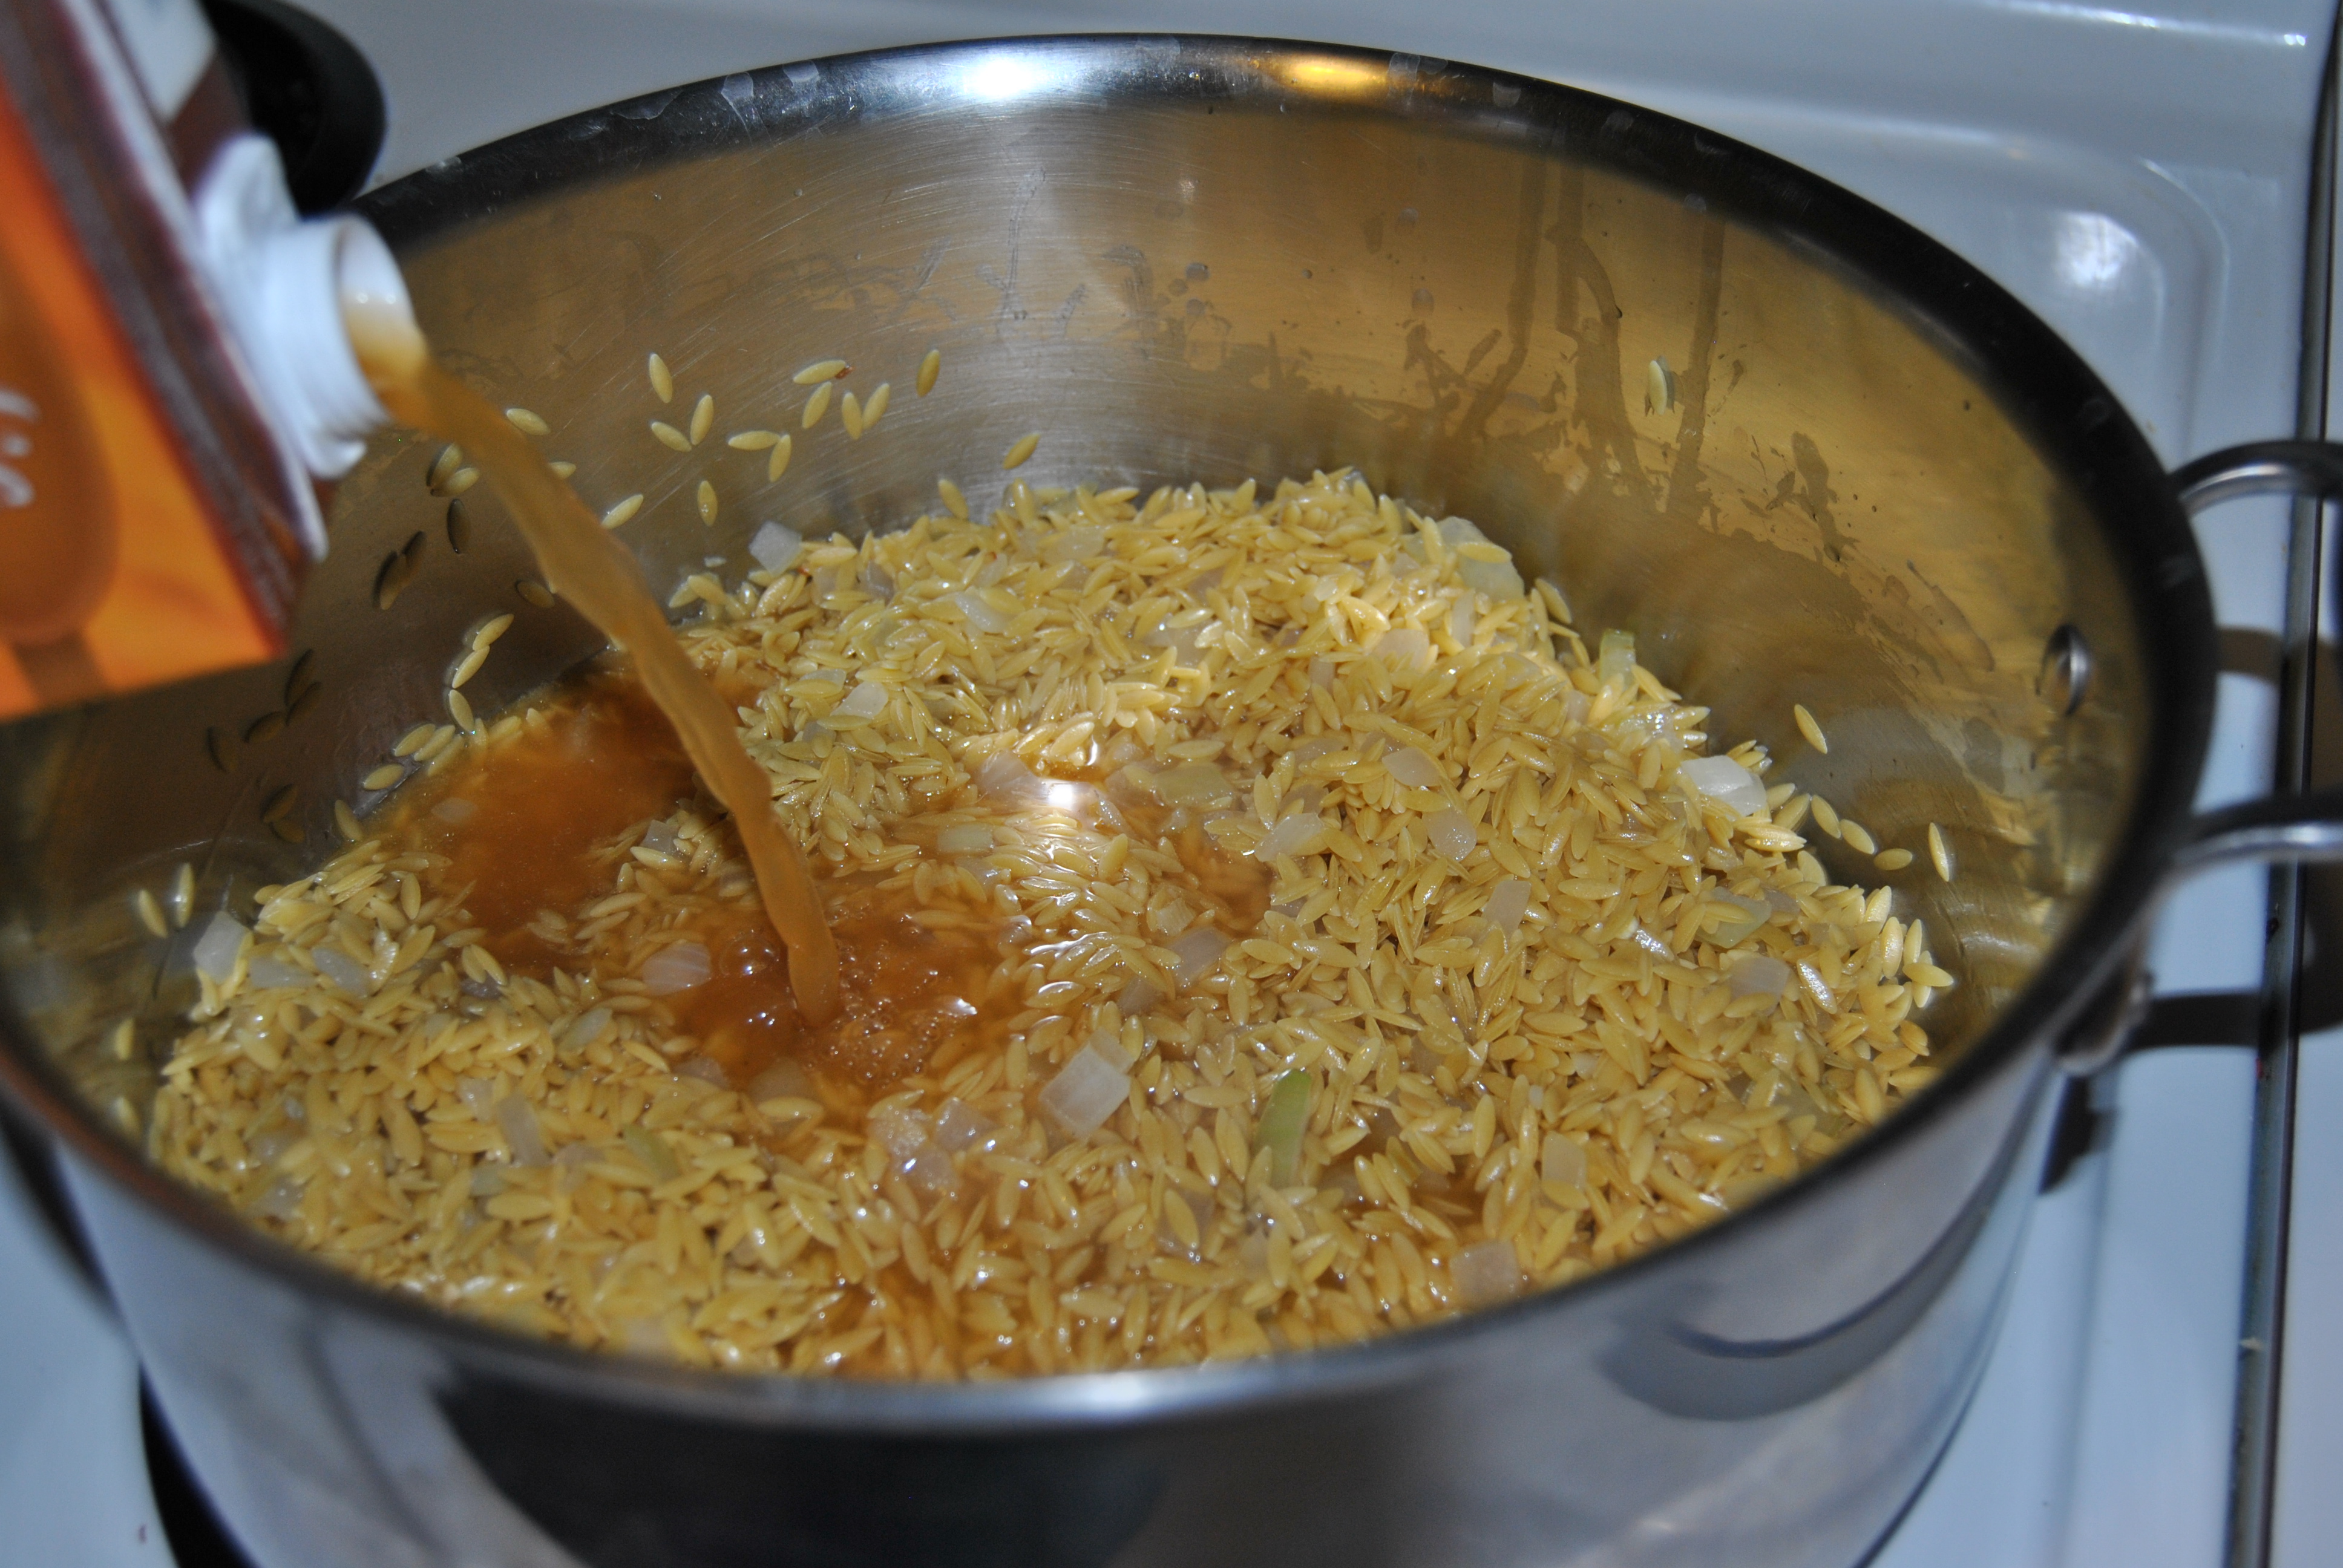
1. Heat a large, heavy-bottom pot over medium heat. Add oil and then onions. Cook until onions are translucent, 5-7 minutes. Add garlic and cook one minute more. Add the orzo and cook 2 minutes, stirring frequently. Pour in stock and water and raise heat to medium high.


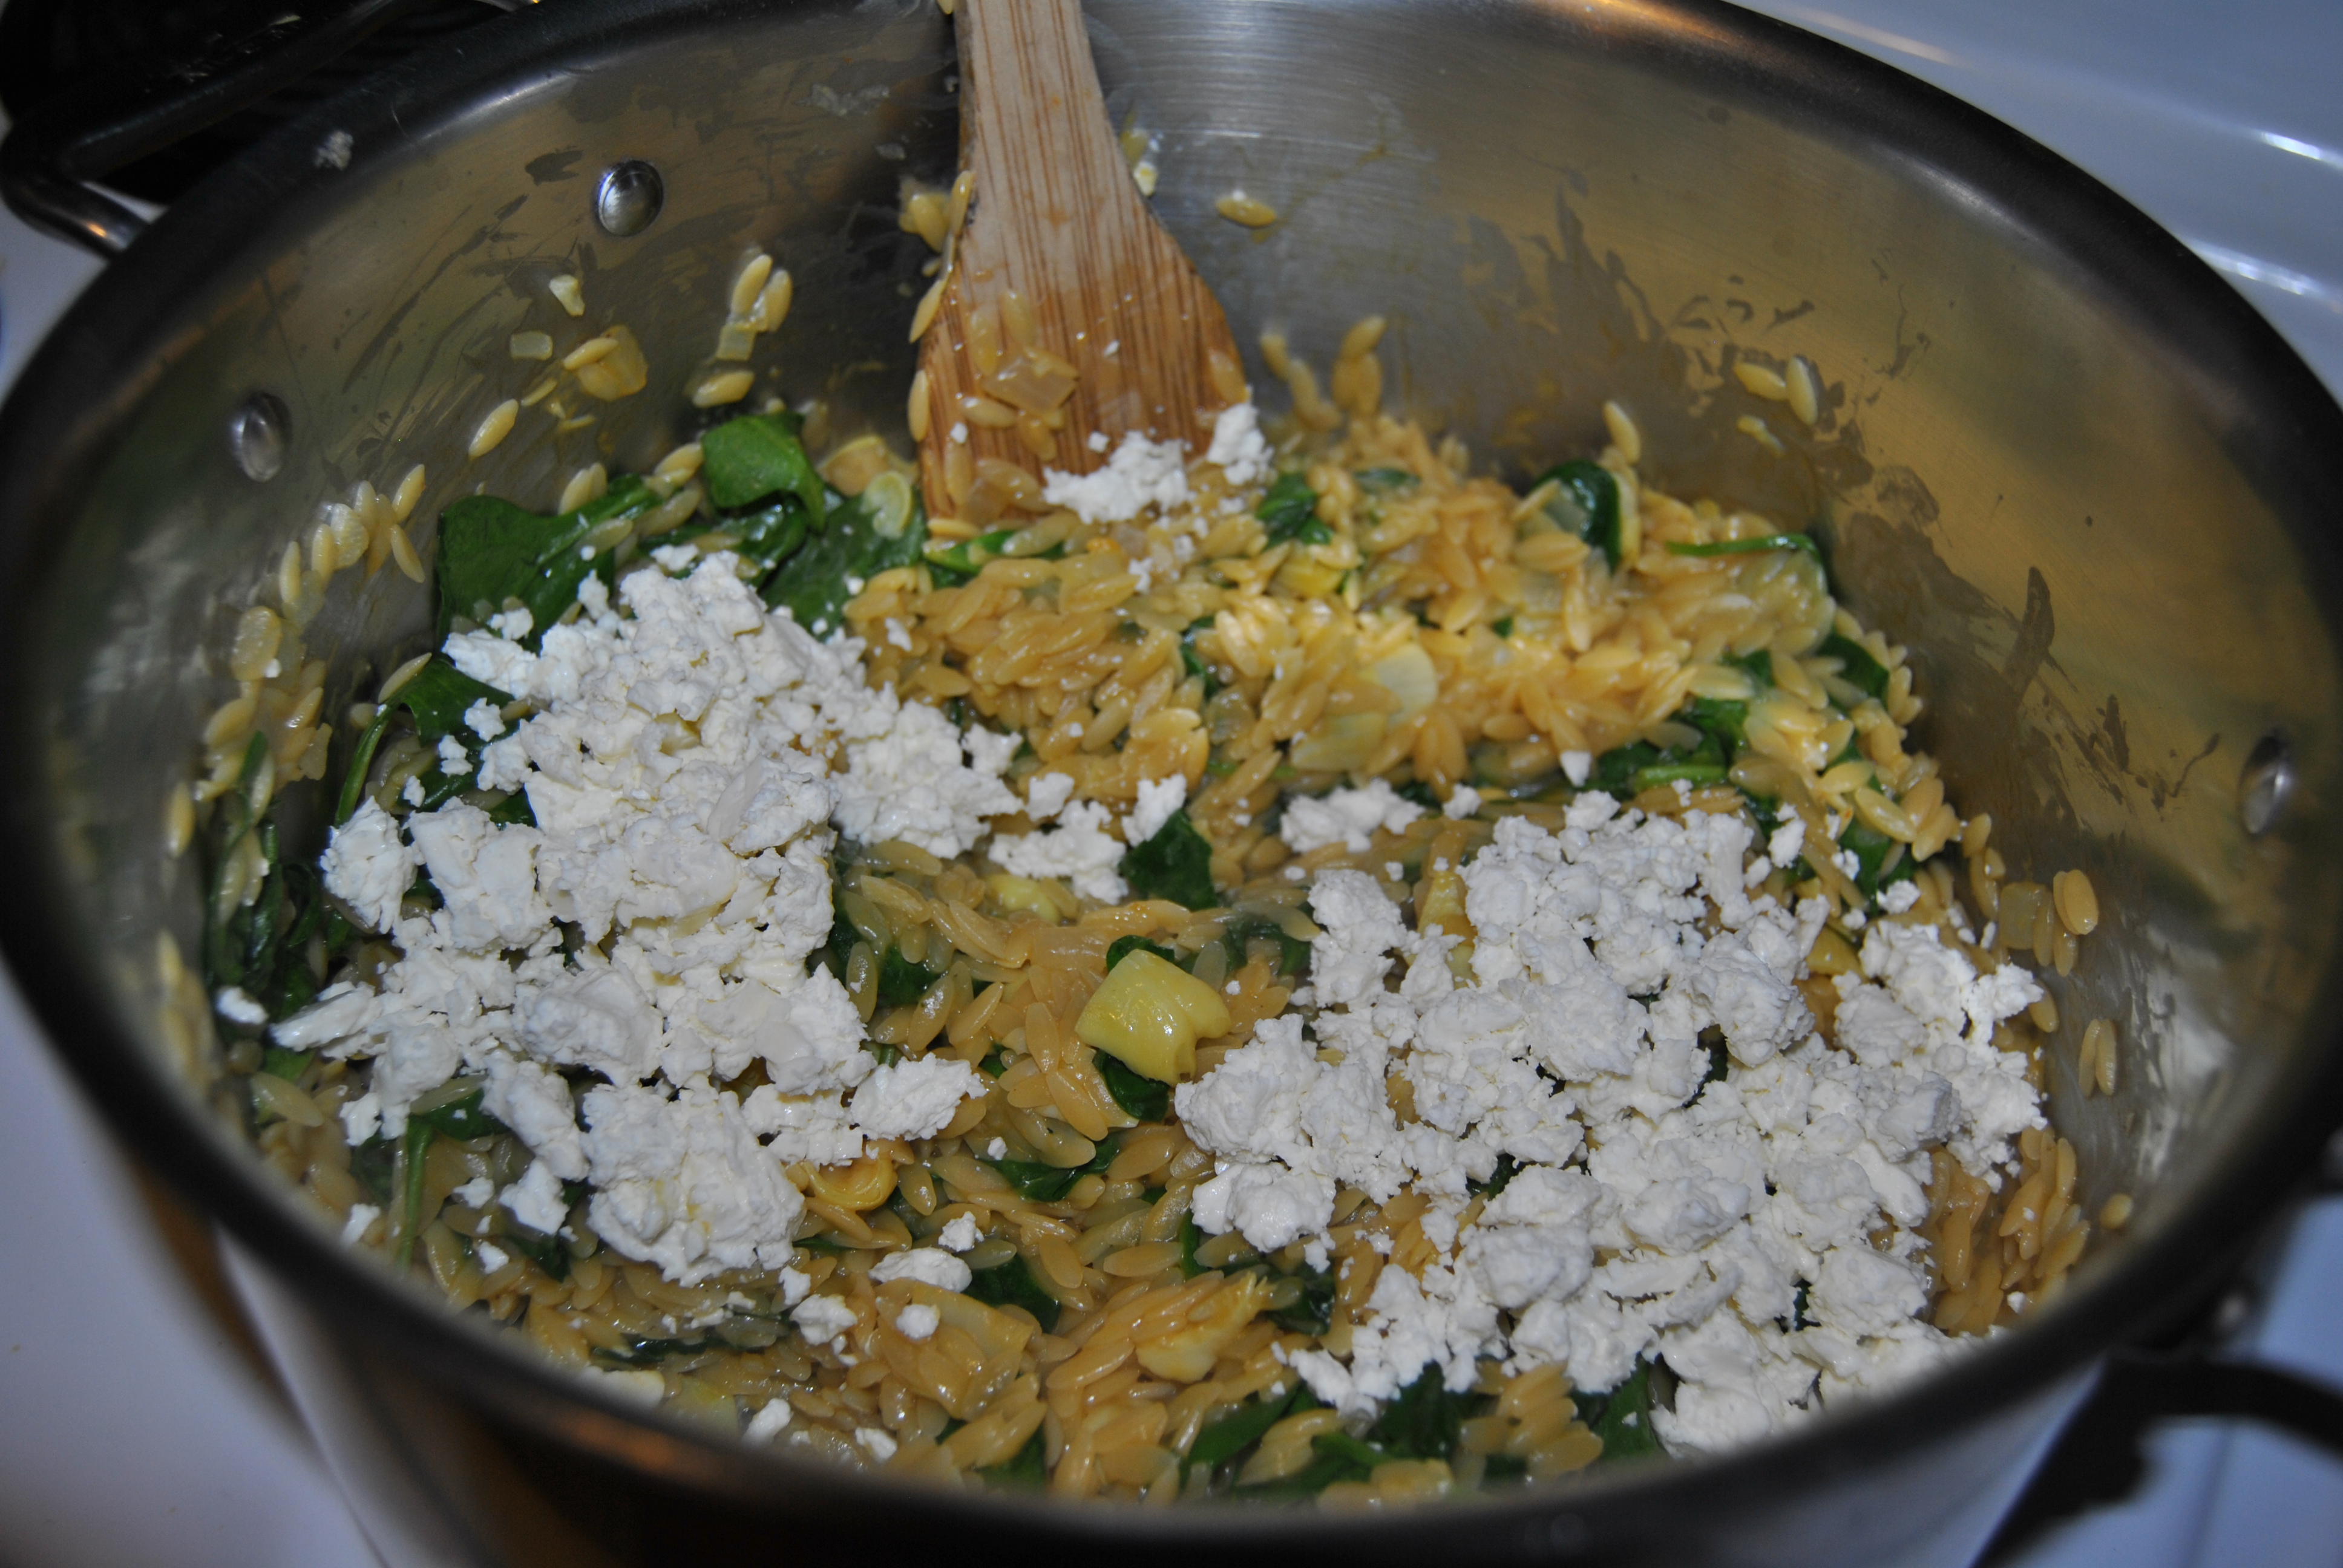
2. Cook until orzo is soft, stirring frequently so it doesn’t stick. Turn off heat and add remaining orzo ingredients. Adjust seasoning (remember, that means add more salt and pepper if needed) and serve with the Greek Chicken.
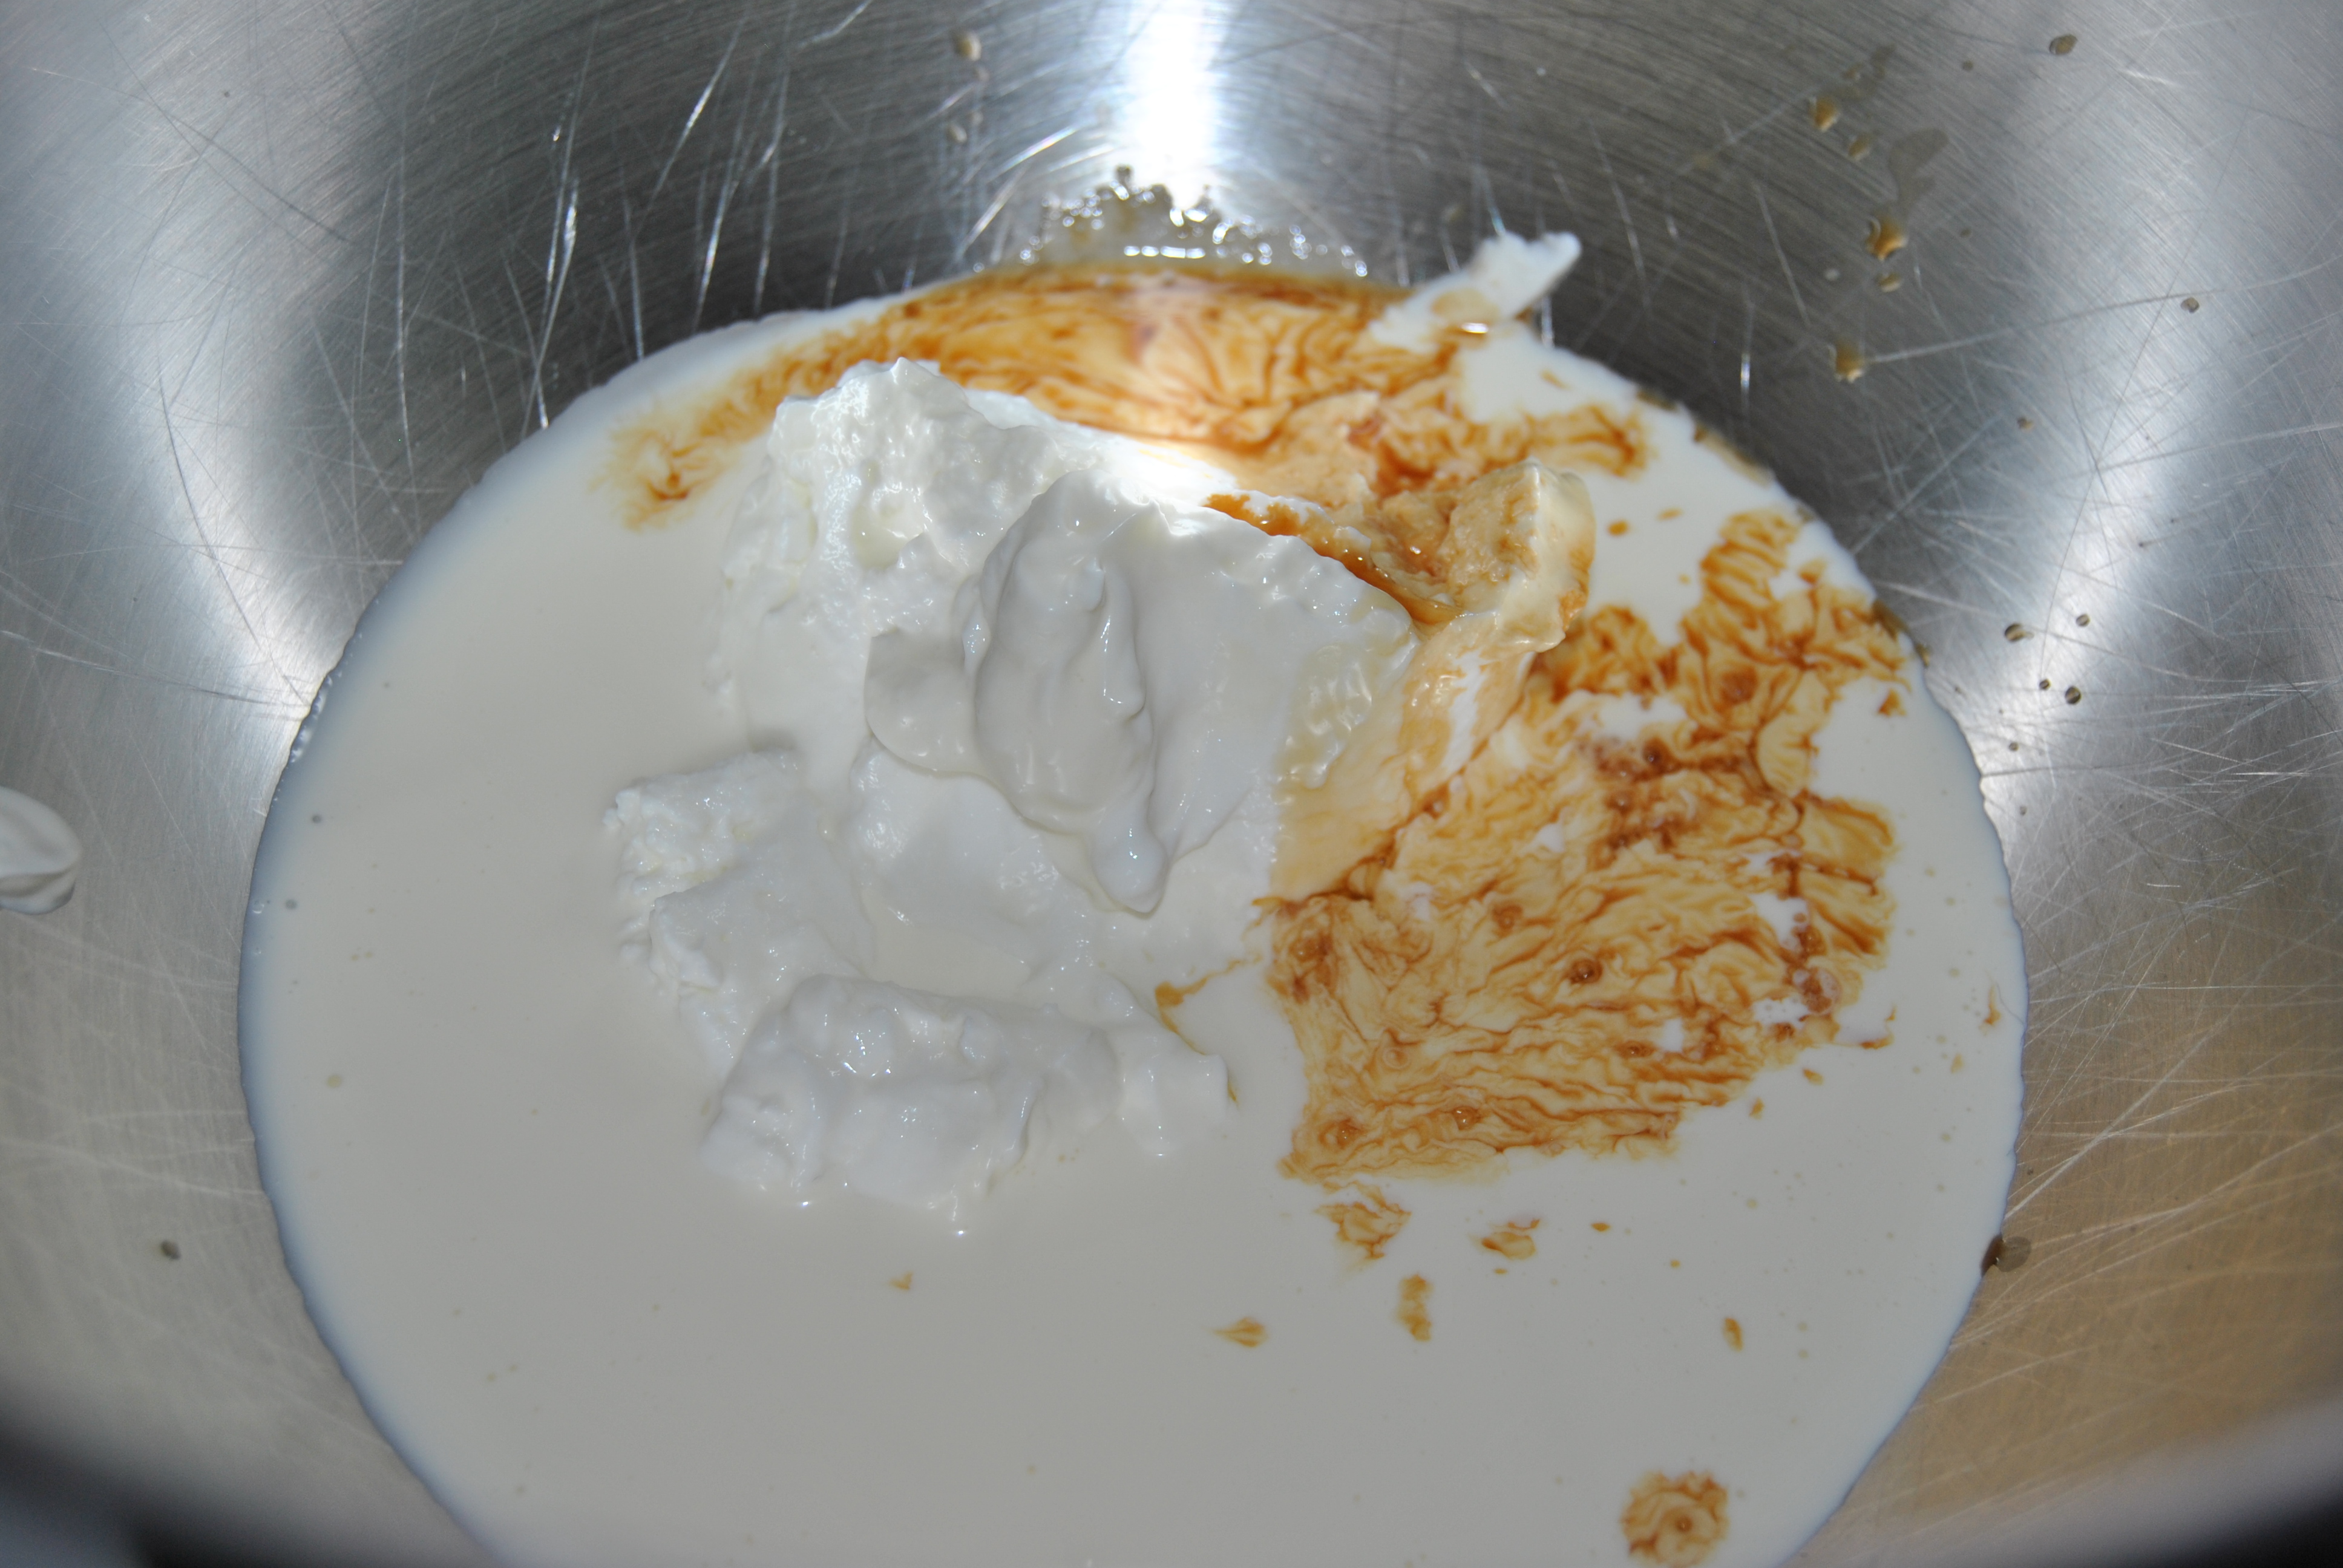
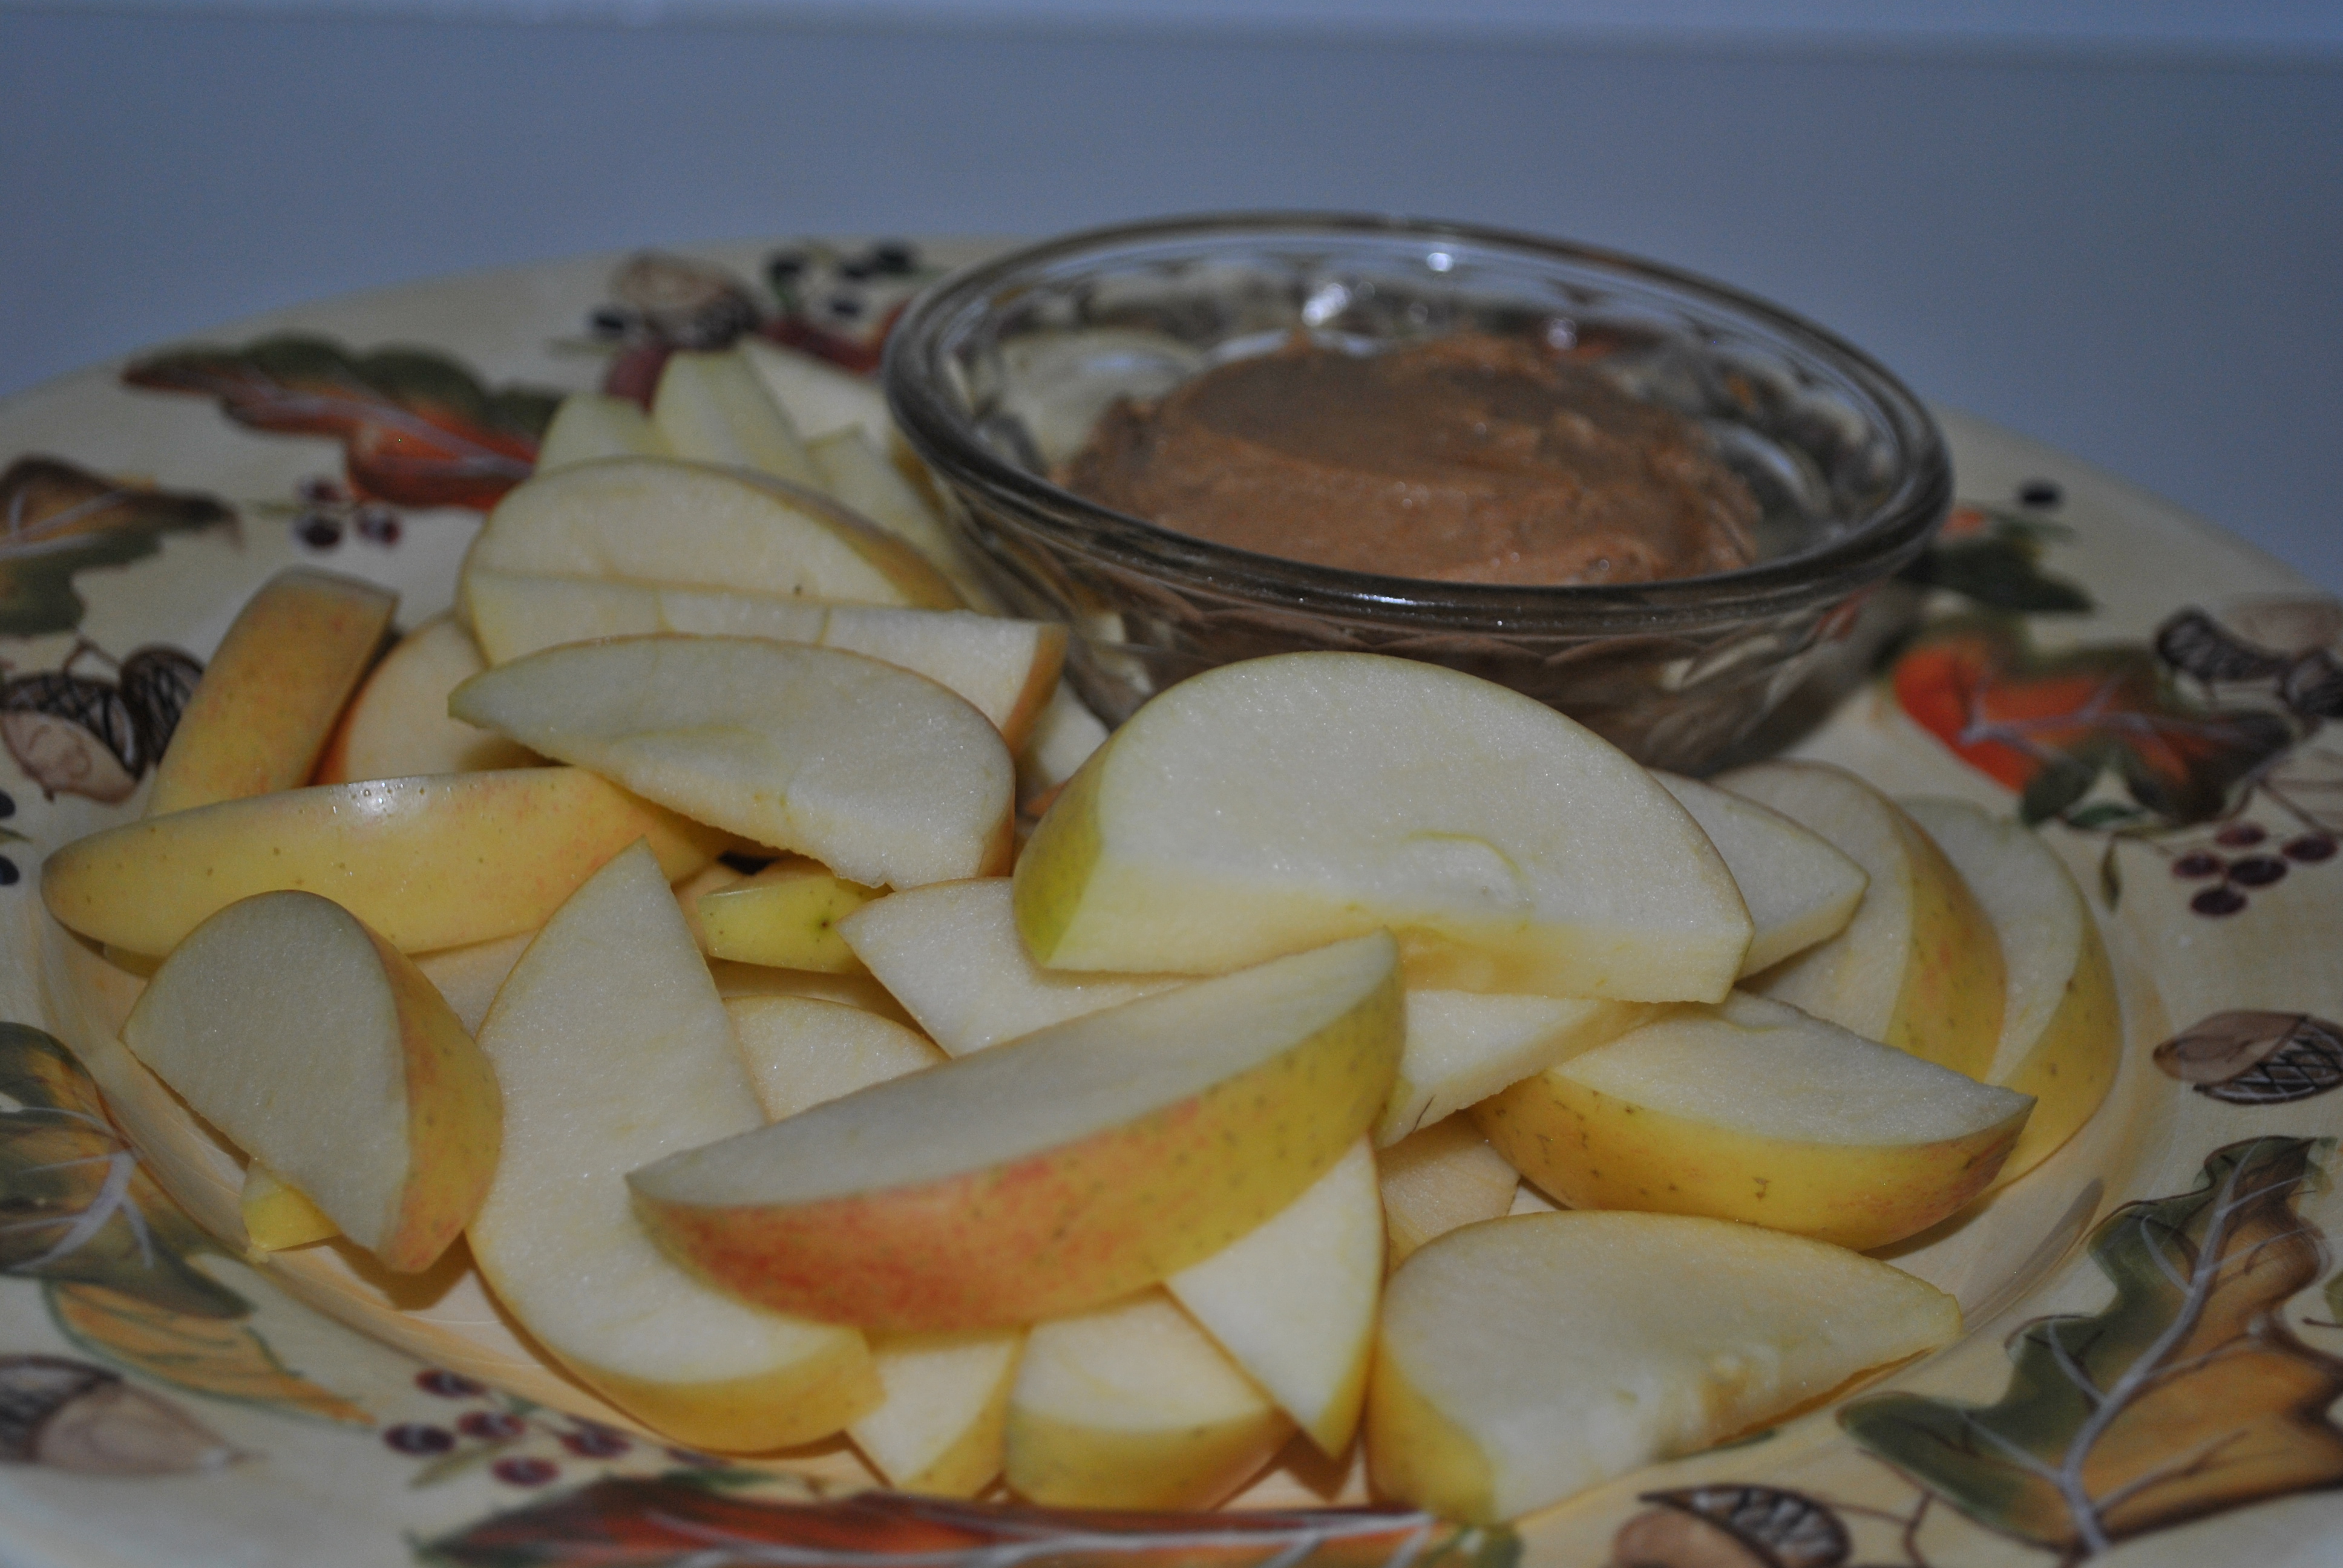
 Healthy desserts are not typically my thing. I believe in scratching the itch instead of going around it and around it and never hitting the spot. I don’t splurge every day but if I do, I want to be satisfied. However, since my blog is all about doing things a little healthier, I will try my best to be creative and throw a few things out there that are better for you in the land of sweets.